Nyheter
Allt om nyheter


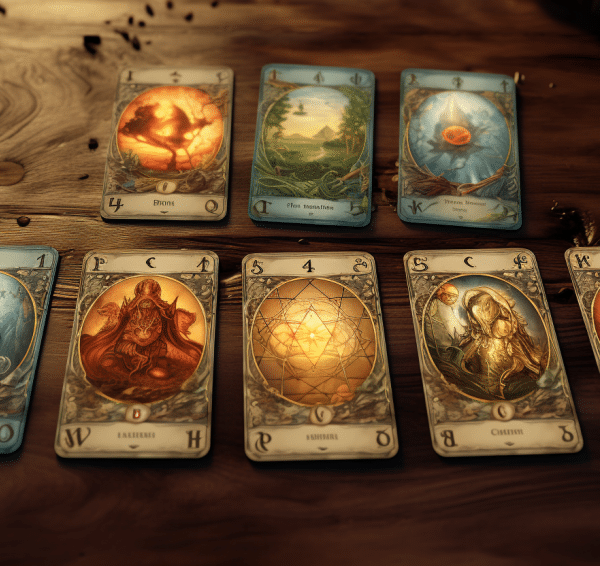
Astrologiska prognoser och tarotläsningar för 18 april 2024: Upptäck dina vibrerande energier för dagen
 AvMathilda Berglund18 apr 2024
Välkommen till dina astrologiska förutsägelser för den 18 april 2024, från en tarotläsning. Tarot är ett gammalt spådomsverktyg som låter…
Kosmisk revolution 18 april 2024: Intensiv astral händelse & kommande omvälvningar i zodiaken
AvMathilda Berglund18 apr 2024Den 18 april 2024 är en kosmisk revolution på gång! En astral händelse av sällsynt intensitet är på väg att…

Större himlafenomen den 18 april 2024: Kosmisk balett som påverkar kärleken enligt zodiaken
AvMathilda Berglund18 apr 2024Himlen är en kosmisk balett, arrangerad av en gudomlig hand, som påverkar vår existens gång på ett mystiskt sätt. Den…

17 april 2024: Upptäck hur Kejsaren och Lyckohjulet kommer att påverka din dag enligt tarot!
AvMathilda Berglund17 apr 2024Välkommen alla till denna spådomsresa in i själva essensen av den 17 april 2024. Idag kommer vi att dra nytta…

Exceptionell astral konfiguration den 17 april 2024: Stor omvälvning för tre stjärntecken
AvMathilda Berglund17 apr 2024Universum erbjuder oss en elegant och mystisk kosmisk dans, redo att överraska oss den 17 april 2024. En stor astral…


Vad är VACAF-stöd och hur kan jag dra nytta av det?
AvMathilda Berglund16 feb 2024Välkommen till en värld av socialbidrag, där varje liten del bidrar till att lätta på den dagliga bördan för familjerna. Idag dyker vi ner i en viktig guide som mycket…

Oslagbara tips för att gömma pass, pengar och papper och resa med sinnesfrid!
AvMathilda Berglund15 feb 2024Att ge sig ut på äventyr till världens alla hörn är en spännande upplevelse, men den för också med sig en hel del bekymmer, inte minst säkerheten för våra mest…
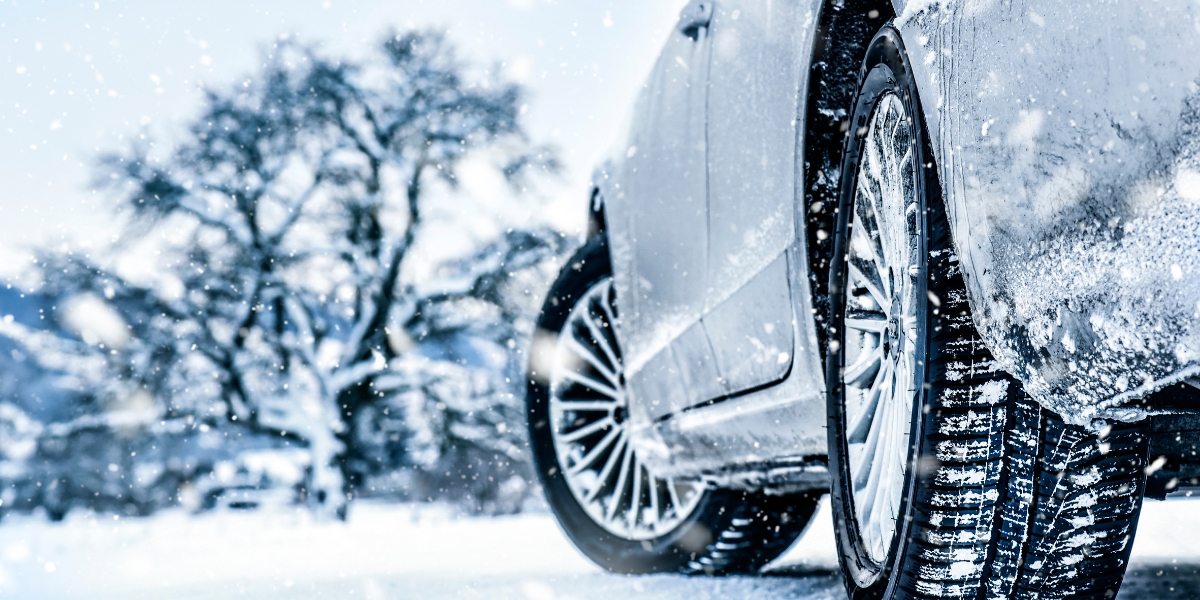
Förbered din bil för vintersemestern: 4 viktiga tips från proffsen
AvMathilda Berglund15 feb 2024När vintern vecklar ut sin vita kappa och semestern tornar upp sig vid horisonten blir det en prioritet för alla resenärer att förbereda sin bil för snöiga eller isiga vägar.…

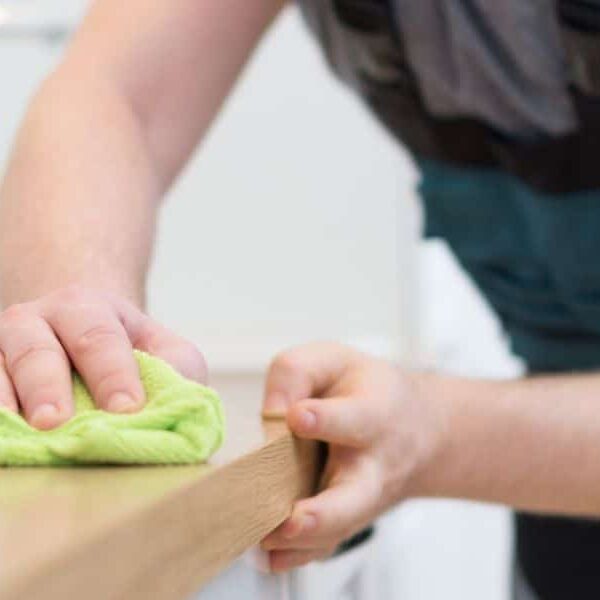
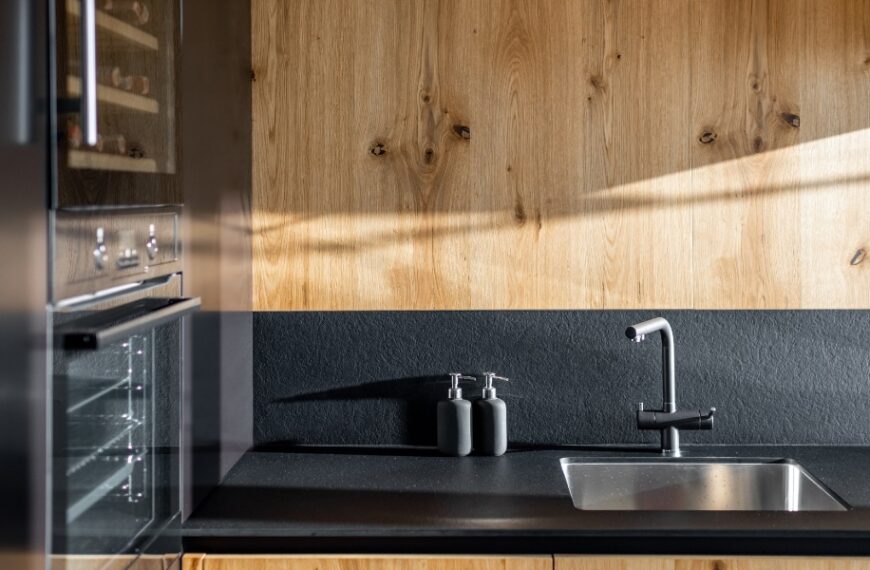
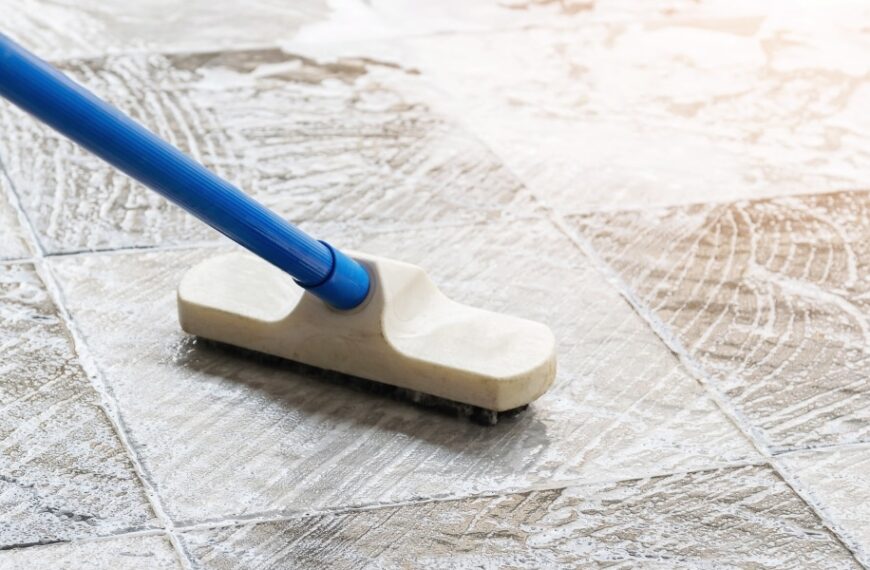
Hur kan du städa effektivt efter jul?
AvMathilda Berglund5 jan 2024Städning efter jul: Första stegen Att städa efter semestern kan visserligen verka överväldigande, men med ett strukturerat tillvägagångssätt blir det mycket lättare. Här är omfattande steg för att vägleda dig:…

Hur skapar man smart förvaring i en liten lägenhet?
 AvScolastica Longo4 jan 2024
Din lägenhet är liten och du undrar hur du ska förvara alla dina saker. Oroa dig inte, vi har tips som hjälper dig att förvara smart i din lilla lägenhet.…

Avslöja din lojala karaktär med vårt roliga personlighetstest! Är du lojal, praktisk eller passionerad?
AvScolastica Longo4 jan 2024Välkommen till en värld av underhållande personlighetstester! Dessa lättsamma frågesporter är inte bara ett roligt sätt att slösa bort några minuter; de kan ofta ge värdefulla insikter om din personlighet…

Hur skapar man smart förvaring i en liten lägenhet?
AvMathilda Berglund3 jan 2024Din lägenhet är liten och du undrar hur du ska förvara alla dina saker. Oroa dig inte, vi har tips som hjälper dig att förvara smart i din lilla lägenhet.…

Hur förhindrar man ludd på svarta kläder?
AvScolastica Longo2 jan 2024Om du har svarta kläder hängande i garderoben så vet du hur svårt det kan vara att underhålla dem. Ludd är en av de största fienderna för svarta kläder och…

Psykologi: 7 tecken på att du är född till ledare
AvScolastica Longo2 jan 2024Har du någonsin undrat om du har vad som krävs för att bli en ledare? Vissa människor är födda till ledare, medan andra utvecklar sina ledaregenskaper över tid. Inom psykologin…

Varifrån kommer nyårslöftena och varför ger vi dem?
AvScolastica Longo1 jan 2024Nyårslöftenas historia Traditionen med nyårslöften går längre tillbaka än man kanske tror. Den uppstod i det forntida Mesopotamien för cirka 4 000 år sedan. Babylonierna lovade att betala sina skulder…

Personlighetstest: Upptäck din grad av flexibilitet – Är du lättpåverkad eller orubblig? Gör testet!
AvMathilda Berglund17 apr 2024Personlighetstest är utformade för att avslöja individers utmärkande drag och beteendetendenser. Personlighetstestet för att avgöra om du är en formbar…

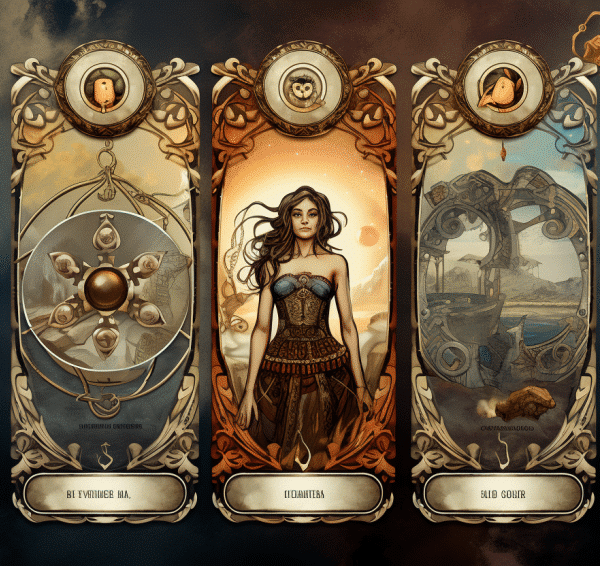
Personlighetstest: Avslöja din mentala styrka genom att välja bland dessa 3 mystiska blommor!
AvMathilda Berglund15 apr 2024Personlighetstester är spännande verktyg som hjälper oss att utforska djupet av vår karaktär. Genom att välja din favoritblomma avslöjar detta…

Personlighetstest: Upptäck din karaktärs dolda hemligheter genom vad dina ögon ser först!
AvMathilda Berglund13 apr 2024Personlighetstester väcker allt större nyfikenhet. Vissa av dem erbjuder en analys baserad på visuell perception: det som individen ser först…

Personlighetstest: Ta reda på om din inre frihet segrar eller om du är fånge i andras blickfång!
AvMathilda Berglund11 apr 2024Personlighetstester är verktyg som utforskar de många aspekterna av vår karaktär. Vissa av dem bedömer vårt känslomässiga oberoende. Detta test…